Real PDF Compressor Online Tutorial
3 Steps to Compress your PDFs
It takes three steps to compress your PDFs using Real PDF Compressor.
Step 1, Add your PDFs to the app.
Step 2, Adjust Compression Settings and Compress your PDFs.
Step 3, Open the output folder and locate the compressed PDFs.
Step 1: How to Add Your PDFs to the App?
Method 1: Use the “Add File(s)” button. Simply click the button, select one or multiple PDF files and click the “Open” to add them to the app.
Note: On the right side of the “Add File(s)” button, the small triangle button will show you the list of your recent added files.

Method 2: Use the “Add Folder” button. Simply click the button, select the folder containing your PDF files and click the “OK” to add all PDF files in that folder to the app.
Note: On the right side of the “Add Folder” button, the small triangle button will show you the list of your recent added folders.

Method 3: Use the “Import List” button. Simply click the button, select the List file (txt or csv) that contains your list of PDF files and click the “OK” to import the PDF files to the app.
Note: On the right side of the “Import List” button, the small triangle button will show you the list of your recent imported List files.
Note: A List file is a text file that contains your file list. In the List file, every file takes one line. Each line represents the full path of one file. You can save the current file list to a List file by selecting the menu “File” -> “Save File List”.

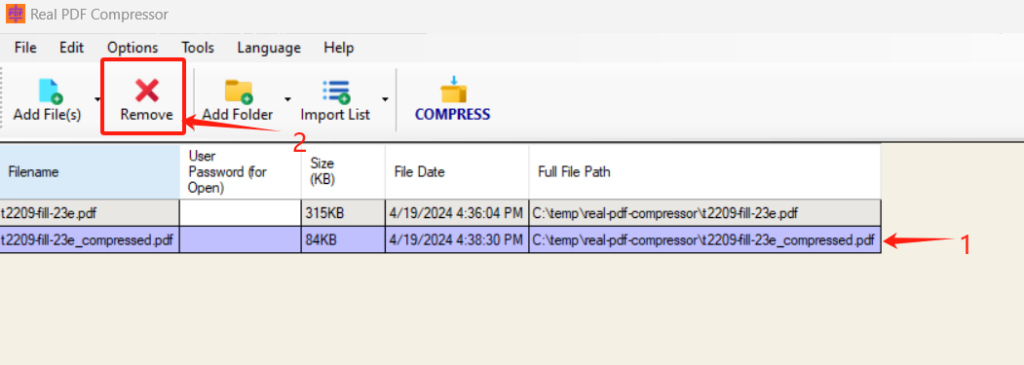
How to Remove a File from the List?
In order to remove a file from the list, you need to select to highlight the file, and then click the “Remove” button.